


In the world of smartphones and digital navigation, location services play a pivotal role. These services, available on Android devices, enable applications to access a user's geographical coordinates, allowing for location-based functionalities. From mapping and navigation apps to social media check-ins and weather updates, the Android location service is a cornerstone of modern mobile technology. This post delves into the reasons why users might need to change their location on Android and provides a comprehensive guide on how to achieve this.

1. Why Change Location on Android?
The Android location service, powered by GPS (Global Positioning System) and other positioning technologies, forms the backbone of countless applications that rely on location data. From helping users find the quickest route to their destination to aiding businesses in providing location-specific offers, this service has transformed the way we interact with our devices and the world around us. However, there are instances when users might find it necessary to change their device's location.
The need to change one's location on an Android device can stem from various reasons, both practical and recreational. Here are a few common scenarios where changing location becomes necessary:
- Privacy and Security: Some apps request access to a user's precise location data, raising concerns about privacy and security. By changing their location, users can protect sensitive information and restrict app access to their actual location.
- Geo-Restricted Content: Certain content, such as videos or applications, might be restricted based on geographical locations. Changing one's location can help bypass these restrictions and access otherwise inaccessible content.
- Gaming and Virtual Reality: Location-based gaming apps and virtual reality experiences often require users to be in specific locations to access features or progress in the game. Changing location can enhance gaming experiences.
- Testing and Development: Developers often need to simulate different locations to test location-dependent features of their apps. Changing location on their Android devices helps them ensure app functionality across various regions.
- Travel Planning: While researching or planning a trip, users may want to see how certain apps behave in their destination's location. Changing location allows users to better understand the services available in the area they plan to visit.
2. Change Location on Android with VPN vs. Without VPN
Changing your Android device's location can be accomplished using either a Virtual Private Network (VPN) or the location changer. If you require a tool for privacy, accessing geo-restricted content, and enhancing security, a VPN is a comprehensive option. If your primary goal is to change location and simulate natural movements for specific apps and tasks, and you're looking for a user-friendly solution, AimerLab MobiGo offers a focused approach.
3. What is AimerLab MobiGo?
AimerLab MobiGo is an effective and powerful location changer that can change you iOS and Android location to any where in the world without jailbreaking or rooting. Now let's delve into the main features of AimerLab MobiGo and understand its functionality in more detail.
- Teleport your iOS and Android location to any place in the world with one click.
- Work with all location based-on apps, like Google Maps, Life360, Facebook, Tinder, etc.
- Customize and simulate natural movements between multiple locations.
- Quickly start a same route by importing a GPX file.
- Use joystick to control direction exactly when moving.
- With almost iOS/Android devices and versions, including iOS 16 and Android 14.
4. How to Change Location on Android Phone with AimerLab MobiGo?
The process of changing your Android device's location using AimerLab MobiGo is straightforward, and here are the steps:
Step 1: Download, install and launch AimerLab MobiGo, click "Get Started" to begin changing location on the MobiGo's interface.

Step 2: Select your Android phone, then click "Next" to connect to the computer.

Step 3: MobiGo will detect your model and show you prompts to open developer mode on your Android phone and enable USB debugging.

Step 4: Once you activate developer mode and enable USB debugging, the MobiGo app will swiftly install on your phone within a matter of seconds.

Step 5: Return to the "Developer options" menu, select "Select mock location app", and open the MobiGo on your device.

Step 6: Your device's location will be shown in MobiGo's "Teleport Mode" by default. To change your Android's location, you can click on the map to choose a new location or enter an address in search bar to search for it.

Step 7: After selecting location, click "Move Here" button and MobiGo will teleport you to the selected destination.

To verify the new location, you can open any location based-on app on your Android to check.

Step 8: You can also create new routes between several locations to move along with and import a GPX file to simulate the same route.

5. AimerLab MobiGo Pricing
AimerLab MobiGo provides users both free and pro versions. The free version allows to change mobile location only 3 times, so you need to upgrade your account to Pro version if you want to make full use of MobiGo. AimerLab MobiGo operates on a subscription-based pricing model, offering users different plans to choose from. The pricing structure might include the following options:
- 1-Month Plan: $9.95
- 1-Quater Plan: $19.95
- 1-Year Plan: $39.95
- Lifetime Plan: $59.95
Users can select an option that suits their specific requirements and purchase from the MobiGo's official site. You can also get extra 30% discount for MobiGo on Apphut.io.
Conclusion
The Android location service has revolutionized how we interact with our devices and surroundings. While changing your location on Android can have practical benefits, it's essential to choose the method that aligns with your specific needs. Both VPNs and location changers can help to change location on Android. However, AimerLab MobiGo simplifies the process of changing location and is well-suited for users who need to change locations and simulate natural movements, suggest downloading and give it try.
Upgrading to a new Samsung phone is an exciting experience. But, the task of transferring all your old data can sometimes seem overwhelming. Fortunately, Samsung has developed several user-friendly methods to simplify the data transfer process. They ensure a seamless transition to your new device. In this article, we will guide you through the step-by-step process of transferring all your old data to a new Samsung phone. So, you can continue using your favorite apps, contacts, photos, and more without any hassle.
Step 1: Backup your old phone
Before you start transferring data, it is crucial to back up your old phone to ensure that no valuable information is lost during the transition. Samsung provides many backup options, including:
Samsung Smart Switch:
Samsung's official app, Smart Switch, allows you to transfer data wirelessly between your old and new Samsung devices. Install Smart Switch on both phones and follow the on-screen instructions to create a backup of your old device.
Cloud Services:
Utilize cloud services like Samsung Cloud, Google Drive, or other third-party services to back up your contacts, photos, videos, and other files. Ensure that you have a stable internet connection and enough storage space on the cloud service of your choice.
Step 2: Restore data to your new Samsung phone
Once you have successfully backed up your old phone, it's time to restore the data to your new Samsung device. Here are some methods you can use:
Samsung Smart Switch (Wired/Wireless):
If you use Samsung Smart Switch for backup, you can restore the data wirelessly or via a USB cable. Launch Smart Switch on your new Samsung phone, select the restore option, and follow the prompts to transfer all your data, including contacts, apps, messages, and more.
Cloud Services:
If you opted to use cloud services, sign in to the same account on your new Samsung phone and select the option to sync your data. Your contacts, photos, and files will be automatically restored to your new device.
SIM Card:
To transfer contacts stored on your SIM card, simply insert the SIM card from your old phone into the new Samsung device. Navigate to Contacts in the Settings menu and select "Import/Export" to copy your contacts to the phone memory.
Step 3: Reinstall and update apps
Now that your data has been successfully transferred, it's time to reinstall your favorite apps on your new Samsung phone. Visit the Google Play Store or Samsung Galaxy Store to download the apps you used on your old device. Additionally, make sure to update all the installed apps to their latest versions to ensure compatibility and security.
Step 4: Personalize your new Samsung phone
With the transfer of your data complete, take some time to personalize your new Samsung phone to suit your preferences. Customize your home screen, set your desired wallpapers, and explore the various settings and features available to optimize your user experience.
Transferring all your old data to a new Samsung phone may initially seem like a daunting task, but thanks to the user-friendly features and tools provided by Samsung, the process can be simplified and hassle-free. With applications like the Samsung Smart Switch and the convenience of cloud services, you can effortlessly transfer contacts, photos, apps, messages, and more from your old device to the new Samsung phone. The step-by-step instructions and intuitive interfaces ensure that you can seamlessly migrate your data without the fear of losing important information. Samsung's commitment to user experience and data management makes the transition to a new device a smooth and stress-free experience, allowing you to quickly get up and running with all your familiar data in no time.
Latest Releases:
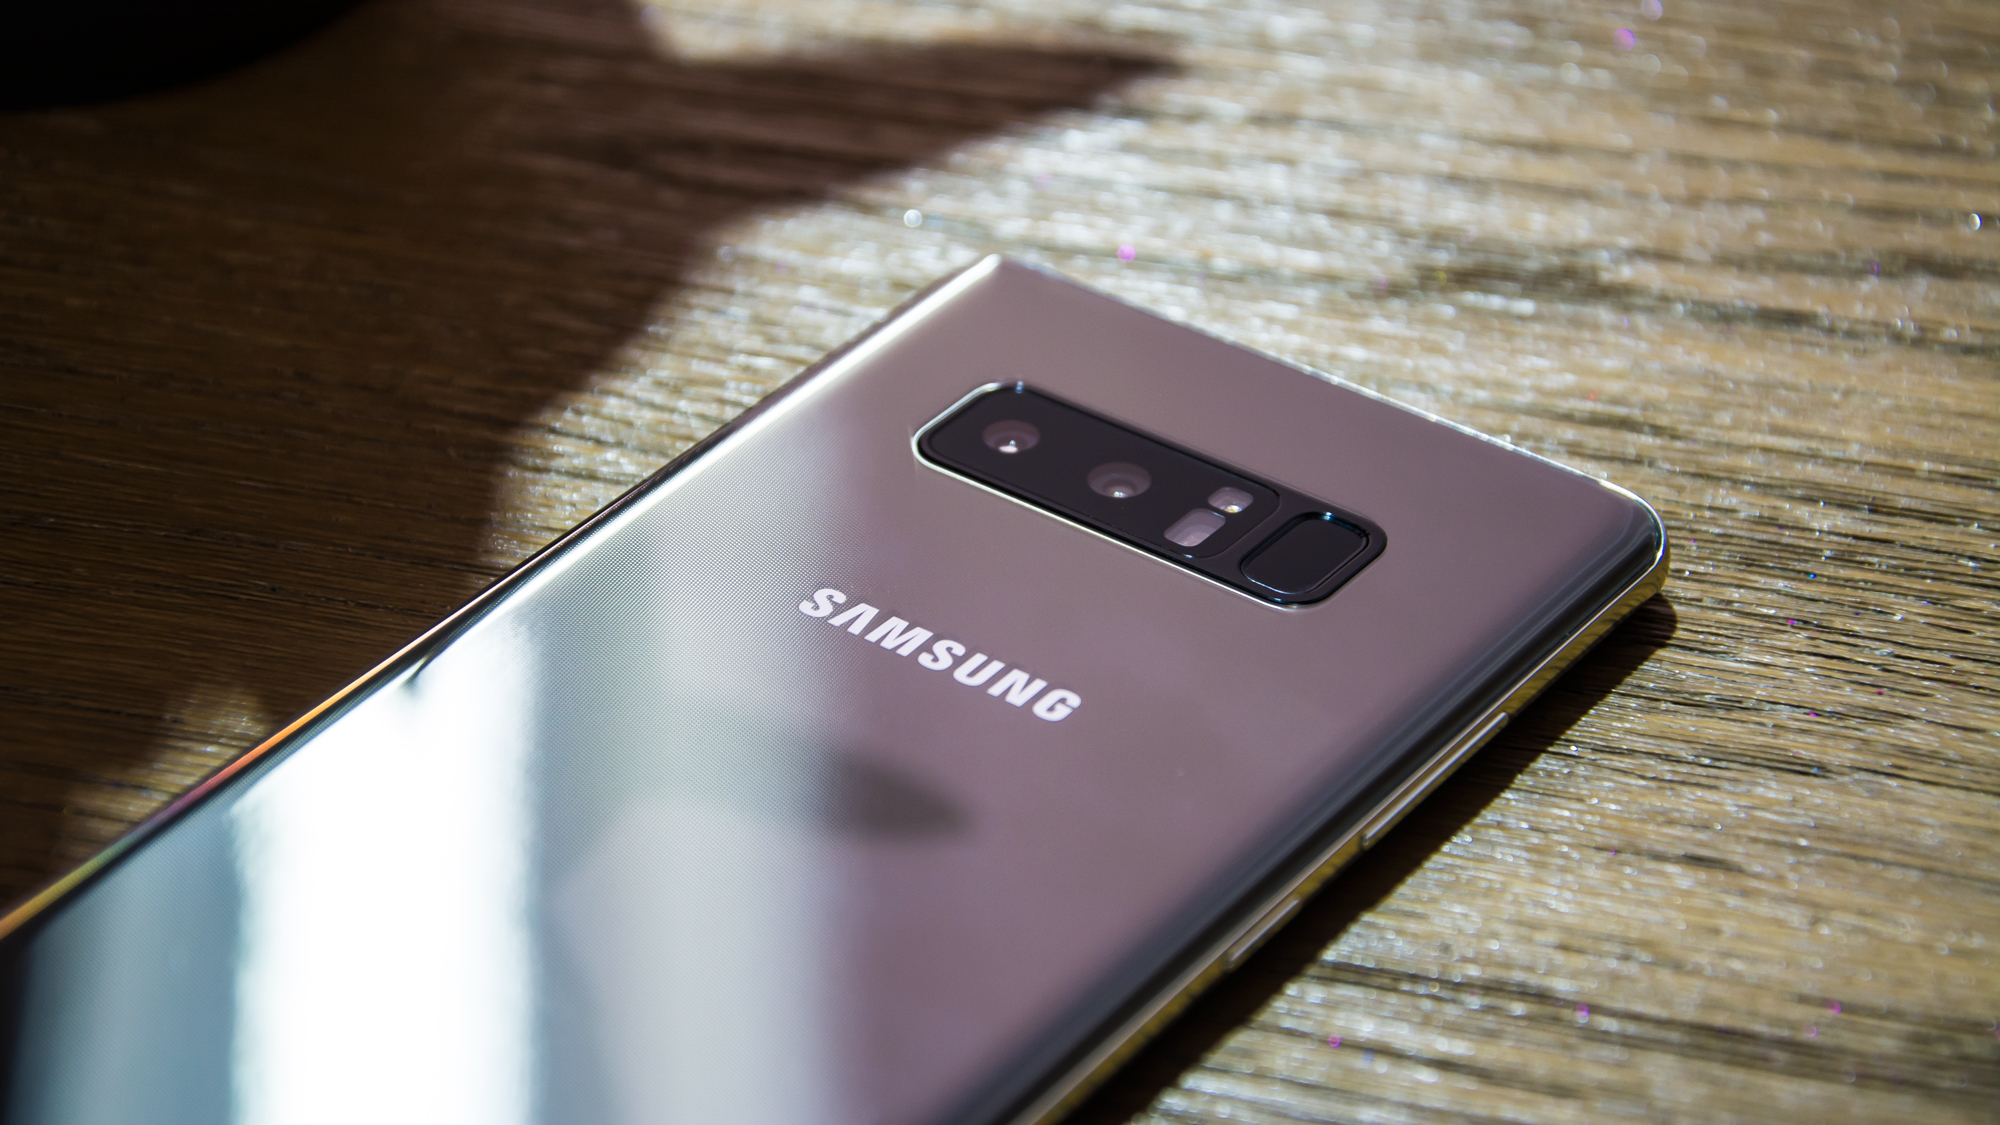
Some of the new Samsung Mobile releases include the Galaxy F54 5G is the newest mobile device from Samsung. The phone was introduced on June 6, 2023. A 6.70-inch touchscreen with a resolution of 2400 by 1080 pixels is included with the phone. The Samsung Galaxy F54 5G has 8GB RAM and an octa-core Samsung Exynos 1380 chipset. The phone has 256GB of inbuilt storage, which can be increased by a microSD card to 1000GB. The Samsung Galaxy F54 5G has a 32-megapixel front camera for selfies in addition to a 108-megapixel + 8-megapixel + 2-megapixel primary camera on the back.
That being said, enjoy your new device and create a National Casino login, with all your familiar data at your fingertips!

When marketing your products or services, you should keep in mind that although you are probably listing your item for sale using a computer, most of your customers will be shopping using the Amazon app on their cell phones. This means that the placement and length of the description will have to be catered to the smaller screen. Photos should also be taken with this in mind so try to provide close-up pictures of your products.
Here is a guide on attracting more shoppers to your business using the Amazon app.
1. Market your business effectively
Undoubtedly, there is a right way and a wrong way to market your products on Amazon, as well as there being somewhere in between. By marketing the wrong way you will see less-than-average sales; if your business is somewhere in the middle your sales may be ok-enough to get by and you may think that you are doing quite well. However, by marketing the right way, your business could be soaring, products flying out of your doors, and you could be looking to expand your Amazon business to include having employees working under you.
Now, undoubtedly, you will understand that by trying to do everything yourself you are either doing your marketing poorly or to the minimum standard. However, to get the best results you are going to need the help, advice, and expertise of a professional Amazon marketing agency such as those found at nuancedmedia.com. This is because marketing agencies such as Nuanced Media have the correct tools and knowledge to help you get your products in front of those customers that are actively seeking them, and by aligning this with their general knowledge of optimization and strategies for Amazon and e-commerce business you will see why having certain professionals on board will help your business.
2. Use pictures and photos
When you place your items up for sale you should provide your customers with plenty of pictures and photographs so that they can see exactly what it is that they are purchasing. You have to remember that your customers are unable to pick up and check over the item like they would in a regular store.
Providing photos can install customer confidence in you as a seller. If you show a lack of photos, you may find that customers are unhappy with the product that you are supplying them especially if you are selling items that are aesthetically less than perfect.
3. Provide short, clear descriptions
You should always include descriptions of the products that you are selling, and they should be kept short but also informative. If you struggle with this, then opt for bullet points to get your message across. Again if the items you are selling are aesthetically less than perfect make sure that you include their faults and draw the customer's eye toward them. This way your customer will be prepared when they receive the goods and will be less likely to leave negative feedback.
Final thoughts
You are going to need every tactic you can get your hands on to get ahead of the game when it comes to Amazon selling: supply plenty of quality photos; use short, clear, and informative descriptions for your products; and have a secret weapon of a trusted marketing agency to supply you with strategies to use and to give you a boost in your product's optimization.

Are you scrolling through your Apple iPhone and finding your apps are all over the place? You are not alone, this happens to a lot of people - especially the longer you have owned an iPhone for and not organized your apps. Not only will you find this frustrating as you can't locate an app but it's also a waste of time.
Luckily, Apple devices are very efficient and by dedicating a short amount of time you can quickly organize your apps efficiently, helping make your experience of using your phone a little bit more enjoyable.
How to organize your apps on your iPhone
Apple's interface has been designed to enable you to organize your apps into folders to make them more accessible on your homepage. These folders can be organized by the applications you use the most, by alphabetical order, or by categories - such as travel apps, banking apps, marketing apps, social media apps, etc - or whatever you prefer. It's easily done, you just need to spend the time organizing them.
Keep on reading to learn more about how to organize apps.
Create folders
In order to organize your application on your iPhone, you will need to start by creating folders on your homepage.
- Log into your phone and go to your homepage screen
- Press the home screen and hold your finger on it until your apps start to jiggle.
- When jiggling, drag an app on top of another app and this will create a folder (When doing this, make sure the apps are in a similar category such as social media apps)
- Continue to drag the apps you want into the folder created.
- Once done, rename this folder by holding it, tapping rename, and typing in the name of the folder you would like.
- Repeat the steps above and move another app on top of an app to create another folder.
- Keep doing this until you are satisfied with the number of folders you have created.
- When done, click the done button and then push the home screen background twice to finish.
Summary
Creating folders is the most effective way to organize your apps on your Apple iPhone. By following the above steps, you'll find it's easy to do, you just need to dedicate some time to organizing them. The more you use folders, the more accurately you will find them. It may be that at first, you create several folders which you never use, but that's not a problem, you can quickly delete that folder and move the apps to another.
Apple uses the folders method on a lot of their devices such as their Apple Macs as well as iPads. In most cases, you can use the instructions above to easily create a folder on those devices if you own one.
Have you given creating folders a go on your iPhone yet? Did you manage to follow the instructions above? Is there a different method that you like to use to organize your apps on your iPhone? Let us know in the comment box below, we would love to hear from you.

Choosing a virtual data room can take more time and effort when you are using the technology for the first time.
Before you start. there will be a lot of questions on your mind:
-
Is data room software quality the same everywhere?
-
What type of online data room software would be best for your organization?
-
What features should I look for in my VDR?
The selection of the right virtual data room does take time, and it should. That's because virtual data rooms are your business assets that will affect your overall business workflows. However, with proper guidance, the selection process can be faster and more effective.
Here is a detailed guide on how to select the right virtual data room services.
Tips on choosing the right electronic data room
When it comes to VDR selection, rational decision-making starts with identifying your needs and determining the purpose of using VDR. Here are some important factors to consider when choosing a data room for your business.
1. Determine your needs or objectives you want to achieve with a virtual data room
Data room software serves different purposes. You can use it as a data repository, board communication management platform, or a central place for due diligence in mega transactions like M&As or real estate. To learn more about data room’s benefits for the latter, head over to: https://www.idealsvdr.com/virtual-data-room-real-estate/.
To determine your expectations from the data room, start with questions like:
-
How will the data room affect our business operations?
-
Do we need it temporarily or for the long term?
-
How much data storage will be enough for us?
-
Who will or won't use the data room?
-
Are our employees good enough to adapt to this new technology?
The questions mentioned above will also help you determine which data room pricing model is best suited for you. Also, they will help you define your budget at this stage.
2. Make a list of features you want in your VDR
When you know what objectives are behind your use of a data room, you will be in a better position to identify the features you want in your data room. If you opt for a highly customized solution with all desired features, the cost may go up. In any case, remember these mandatory features:
|
Security |
Document management |
Accessibility |
Communication |
|
- Two-factor authorization - Data backup
- Digital watermarks
|
- Bulk uploads - Drag-n-drop
|
- Branded website - Dedicated mobile app - Multi-device access
- Notifications
|
- Chat messengers
|
3. Compare virtual data rooms
Virtual data room comparison is a compulsory step in the process. It not only helps you discover more options, but you can find the best possible solution at an economical price. Most importantly, make sure you can find the maximum features you are looking for.
Moreover, during your comparison, you should be more considerate about the following aspects:
-
User intuitiveness or ease of use
-
Robust, patient, and responsive customer support service
-
Pricing methods of data room vendors
-
Online customer reviews
Pricing methods are of great importance because an unsuitable pricing model will cost you more. If you intend to use the data room for the long term, go for flat monthly fees. Similarly, the per-page pricing model will be suitable if you need to share smaller quantities of data on a temporary basis.
You can read honest customer reviews from websites like G2, TrustRadius, Capterra, Software Advice, etc.
4. Read more about virtual data room providers
Apart from the data room and the desired features, it is also important to do some research on the data room vendors. One of the most important things to consider is the experience of the vendor in a specific industry. A new or inexperienced vendor may not be aware of the complexities or general practices of the industry.
Also, the vendor should comply with specific industry certifications. For example, FINRA compliance is mandatory for data rooms in the financial sector.
5. Request free trials
The best data rooms in the market have trial versions. Free trials help you assess the difference between actuality and what's advertised by the vendor. You can get practical experience and decide if the data room can cater to your needs or not.
Some of the best virtual data room providers include iDeals, DealRoom, SecureDocs, ShareVault, Merrill, Intralinks, Caplinked, Ansarada, and Digify.
Final words
The best way to start the virtual data room selection process is by identifying your needs and objectives behind using the data room. Then, determine the budget and features you need, compare different data rooms, and do research on virtual data room providers.

Our Mission is Keeping you updated with Latest Android News and Updates as it Happens!

© 2023 YouMobile Inc. All rights reserved